Friday, January 6, 2023

Stampin' Up! Happy Hedgehogs ~ Friendship Card


Do you ever find that you only use a couple of the stamps out of a stamp set?  I've had a couple like that.  Thankfully, this Happy Hedgehogs set is NOT one of those!  I love using every single stamp in this set, all together, or just a couple.  They are great for mixing and matching in so many different ways!  (Okay, I admit, I only use one of the sentiment stamps...at a time...from this set, but I have used them both!)


These images are easy to color and don't require super fancy coloring abilities.  I have just a couple of little tricks I like to use when coloring with blends, but nothing difficult in the least.  Stampin' Blends, Stampin' Up!'s alcohol markers, really are SO easy to color with.  Just remember to color lightly to keep your tips in great shape! 


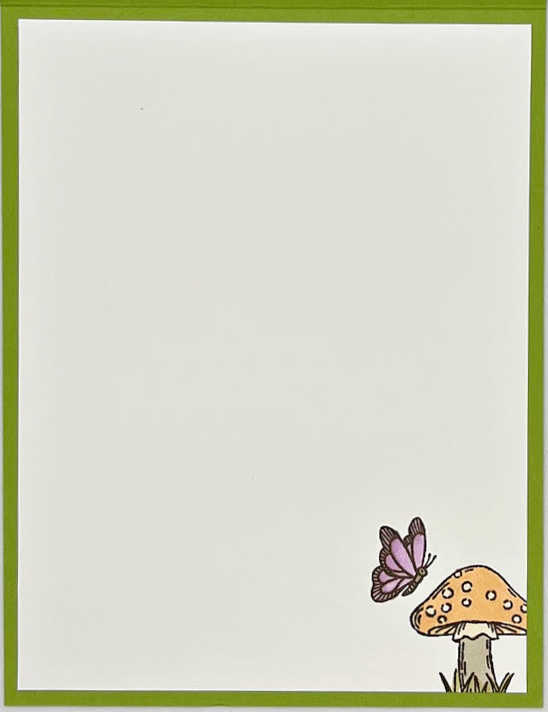
I love this mushroom and butterfly...they are fun to color in many many different colors.  I wanted to keep it to the colors I used on the front of the card, so didn't go crazy.  This was just a quick way to dress up the inside of my card.  I also stamped the bird on the envelope flap.


Thanks so much for visiting my blog today! 
Happy Stamping! ๐Ÿ’œ

Here's the link to my YouTube Tutorial for this card๐Ÿ ‹

PRODUCT LIST
Click on any of the photos below to go straight to that item in my online store.
During the month of January 2022, please use Host Code RVXAGSY4 on orders under $150.  
Thank you!

Wednesday, January 4, 2023

Stampin' Up! Happy Hedgehogs ~ Birthday Card


For my first blog card of the year, I'm sharing this sweet and simple birthday card featuring Stampin' Up!'s Happy Hedgehogs stamps.  The 'happy birthday' came from Stampin' Up!'s Biggest Wish stamp set.  One of the things I love best about Stampin' Up! is how the products all work together.  


I will be using the adorable hedgehog stamps later in the week, but this first card I decided to keep fairly simple.  In fact, I was going to keep it very simple, just stamping the butterfly and bird directly on the sentiment and using the paper trimmer to cut a larger rectangle around them.  However, I decided I like the smaller Stitched Rectangle and the images fussy cut, then popped up with a Mini Stampin' Dimensional.  What do you think? 


 For the inside, I kept it simple and just stamped the mushroom in the corner, then colored it with the Polished Pink Stampin' Blends.  I decided to leave the grass alone, but you could always color it, if you prefer. 


Thanks so much for visiting my blog today.  I hope you have an amazing 2023, with tons of creative moments throughout your year!

Measurements & the Product List for this card are included below. 

Happy Stamping!

MEASUREMENTS
Card Base ~ Gorgeous Grape Cardstock ~ 8-1/5" x 5-1/2", score at 4-1/4"
Layer 1 ~ Basic Black Cardstock ~ 4-1/8" x 5-3/8"
Layer 2 ~ Perfectly Penciled DSP ~ 4" x 5-1/4"
Layer 3 ~ Basic Black Cardstock ~ 3-3/4" x 2-1/2"
Layer 4 ~ Basic White Cardstock ~ 3-3/4" x 2-1/2" (before die cutting)
Scraps of Basic White for bird and butterfly
Inside Layer ~ Basic White Cardstock ~ 4" x 5-1/4"

PRODUCT LIST
Click on any of the photos below to go straight to that item in my online store.
During the month of January 2022, please use Host Code RVXAGSY4 on orders under $150.  
Thank you!