

Hello! Welcome to my blog! Did you catch my YouTube video yesterday? In it, I demonstrated how to create this fun birthday card! If you missed the video, there's a link included at the end of this post.
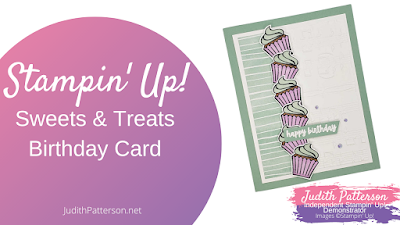
The stamp set I used to create this card is the Sweets & Treats set, found in the July-December Mini Catalog. I love this set because of the fun images and I like sets that can be used for more than one occasion. This one is great for birthdays, Christmas, thank you's and I think it can be used for Valentine's day, too.
MEASUREMENTS
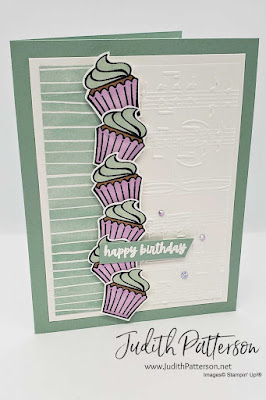
Card Base ~ Mint Macaron Cardstock ~ 8-1/2" x 5-1/2", score at 4-1/4"
Layer 1 ~ Basic White Cardstock ~ 3-3/4" x 5"
Layer 2 ~ Basic White Cardstock ~ 2-1/4" x 3-3/4"
Layer 3 ~ Hand-Penned Designer Series Paper ~ 1-1/4" x 3-3/4"
Inside ~ Basic White Cardstock ~ 4" x 5-1/4"
scraps of Basic White Cardstock
scrap of Mint Macaron Cardstock
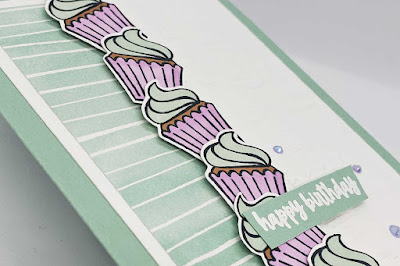
- Stamp six cupcakes on the scraps of Basic White Cardstock, using Tuxedo Black Memento ink
- Color the cupcakes with Stampin' Blends
- Use Paper Snips to fussy cut around each of the cupcakes and set aside
- Stamp 'happy birthday' with Versamark ink on the scrap of Mint Macaron. Cover with White Embossing Powder and set with the Heat Tool after tapping off any excess powder
- Trim around the sentiment with Paper Snips
- Use the Merry Melody Embossing Folder to emboss Layer 2
- Attach Layers 2 & 3 to Layer 1 with your favorite adhesive (I like Liquid Glue)
- Use that favorite adhesive again to attach Layer 1 to the Card Base
- Place one Stampin' Dimensional on the back of each cupcake, in the middle. Overlap the cupcakes as you place them on the card front, covering up the seam where Layers 2 & 3 meet.
- Put a Stampin' Dimensional behind 'birthday' and a dab of Liquid Glue behind 'happy'. Then, attach the sentiment to the card front, as shown.
- Place a few In Color Jewels on the front of your card.
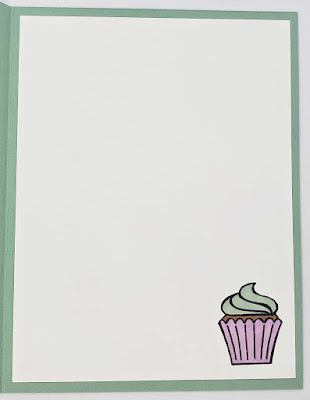
For the inside layer, stamp another cupcake in the bottom corner and color to the match the front cupcakes. Finish by attaching the inside layer to the inside of your card.
Thanks for visiting my blog! I hope you are inspired to create something wonderful!
Happy Stamping!
Click here to watch my YouTube video
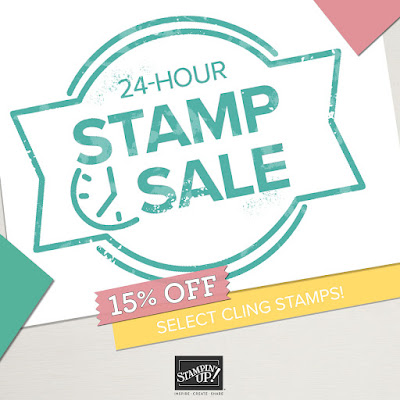
Don't miss Stampin' Up!'s 24 Hour Stamp Sale, Today (October 20, 2021) ONLY!
Almost every Cling Stamp in the Annual Catalog is 15% for just 24 Hours.
Shop online here.
Products used on this project.
No comments:
Post a Comment