
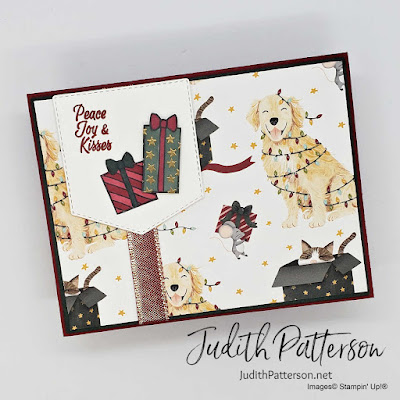
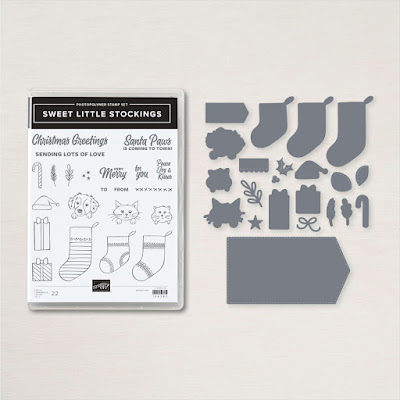
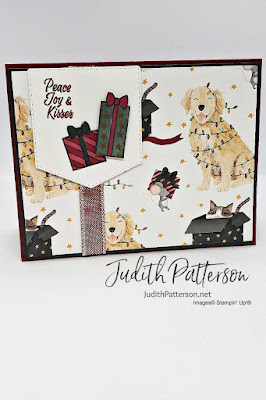
Hello! Welcome to my blog! Did you see this adorable card I made during my Facebook Live today? Once again, I used Stampin' Up!'s adorable Sweet Little Stockings Bundle. I enjoy this set more every time I use it! Especially when used with the coordinating Sweet Stockings Designer Series Paper.
MEASUREMENTS
Card Base ~ Cherry Cobble Cardstock ~ 8-1/2" x 5-1/2", score at 4-1/4"
Layer 1 ~ Evening Evergreen Cardstock ~ 4-1/8" x 5-3/8"
Layer 2 ~ Sweet Stockings DSP ~ 4" x 5-1/4"
Layer 3 ~ Basic White Cardstock ~ 2-1/2" x 3" (will be die cut smaller)
Basic White Scraps
Inside Layer ~ Basic White Cardstock ~ 4" x 5-1/4"
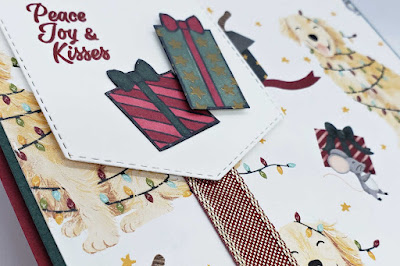
- Stamp the gift boxes on the Basic White scraps with Tuxedo Black Memento Ink.
- Use the large die from Stockings Dies to cut out a 'pocket'. Only run the die about 1/3 of the way through the machine. Then, adjust the die so that your 'pocket' is only going to be about 2-1/2" to 2-3/4" long. Run it through the machine again to cut. (Confused? follow along with the video at the end of this post)
- Stamp the sentiment with Cherry Cobbler ink in the corner of the 'pocket' as shown. (It's not really a pocket, just makes me think of one)
- Use Stampin' Blends to color the gifts.
- Stamp stars on the tall box with Versamark ink. Then emboss with Gold Embossing Powder.
- Fussy cut around the gift boxes with Paper Snips. Then, darken the edges with a Black Stampin' Write Marker.
- Adhere Layer 2 to Layer 1 with your favorite adhesive.
- Attach the ribbon around Layers 1 & 2 with either Glue Dots or Tear and Tape.
- Use Stampin' Dimensionals to attach Layer 1 to the Card Base.
- Attach the 'pocket' over the ribbon with Stampin' Dimensionals.
- Use your favorite adhesive to attach the smaller gift box to the 'pocket'. Then, use Stampin' Dimensioanls to attach the larger gift box, as shown.
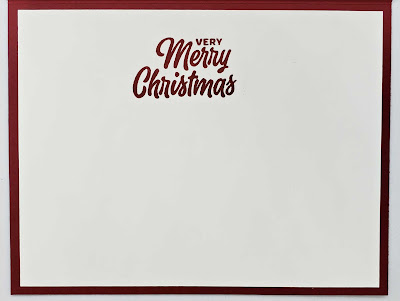
For the inside of this one, stamp 'very merry', then 'merry Christmas' with Cherry Cobbler ink on the inside layer. Then, use your favorite adhesive to attach it to the inside of your card.
Thanks for visiting my blog! I hope you are inspired to create something fun today! If you missed the live video when I made this card, you can watch the replay on YouTube below.
Happy Stamping!
Stampin' Up! has an amazing promotion this month! In the USA, you can join Stampin' Up! for only $75! What do you get for $75 +tax? I'm so glad you asked. You can choose up to $125 worth of Stampin' Up Merchandise as your kit contents. That's right, YOU choose your kit! Plus, you will get a Paper Pumpkin Kit (not the current one) and FREE shipping!
Learn more here. Contact me if you have any questions, I would love to help you build your kit!
PRODUCT LIST
Please use Host Code VNCZG7VK when placing orders under $150 during the month of November 2021.
No comments:
Post a Comment