
Hello and Welcome! During today's Facebook Live I talked about some of the different ways to color images with Stampin' Up!'s various coloring tools. To demonstrate a couple of those coloring options, I made a simple card with Catching Butterflies stamps, perfect for any beginner! In fact, I created another this stamp set that is only the two basic layers. (You can see that card in the video at the end of this post)
I am loving that all of the Sale-a-bration items are perfect for beginner stampers and most of the images can be colored in multiple ways. Card making does not have to be difficult or require ALL the things (although having all the things would be fun). When I started stamping I started with a single stamp set, a Basic Black Stampin' Pad ('cause we had those back in the day - now we have Tuxedo Black Memento and Jet Black StazOn) and Watercolor Pencils. Well, I also had some white cardstock. If you are interested in getting started stamping, I would love to help you! You can contact me here.
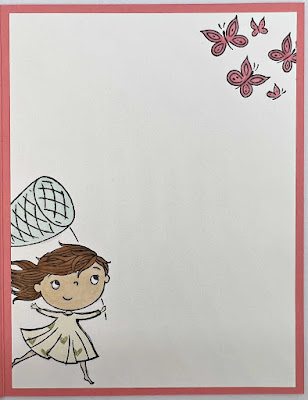
- Stamp the girl, butterflies, and single butterfly on Layer 2 using Tuxedo Black Memento ink, as shown.
- Color in the images with the coloring tools of your choice. Do not color the dress or net, yet.
- Adhere Layer 1 to the Card Base and Layer 2 to Layer 1, with either Liquid Glue or Stampin' Seal.
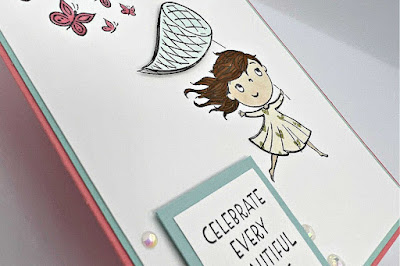
- Stamp the net on the scrap of Basic White CS. Fussy cut around it. If desired, go around the edge with the brush side of a Black Stampin' Write Marker.
- Use Stampin' Dimensionals to attach the net to Layer 2, covering the 1st net.
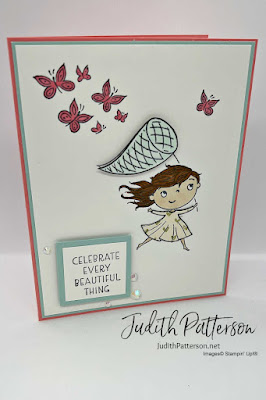
- Stamp the dress on the scrap of Daffodil Afternoon Designer Series Paper. Fussy cut around it. Then go around the edge of the dress with the Black Stampin' Write Marker, if desired.
- Glue the dress on the girl.
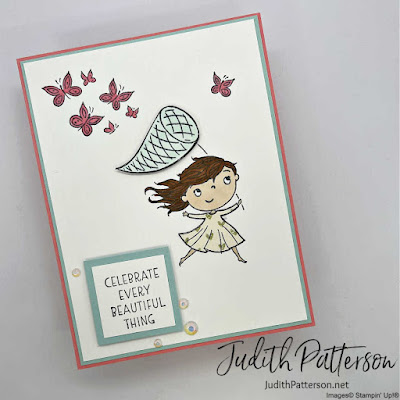
- Stamp the sentiment on Layer 4. Adhere layer 4 to Layer 3. Then, attach Layer 3 to Layer 2 with Stampin' Dimensionals.
- Finish by adding a few Iridescent Rhinestones around the sentiment.
Very pretty card Judith! Thanks for sharing.
ReplyDeleteThank you Kylie!
Delete